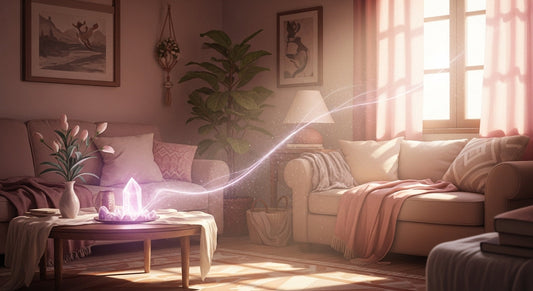
Imagine this: You're sitting in your favorite cozy nook, a array of sparkling crystals spread before you, each one pulsing with its own unique energy. The soft afternoon light catches their facets, sending rainbows dancing across your walls. You're about to embark on a magical journey - creating your very own crystal bracelet.
Hey there, crystal enthusiasts! It's Xander, your friendly neighborhood feng shui guru, and today we're diving into the enchanting world of DIY crystal bracelets. Ready to infuse a bit of your own energy into a wearable piece of art? Let's get crafting!
Selecting the Right Crystals for Your Intentions
Before we jump into the how-to, let's talk about choosing your crystals. Remember, each stone carries its own vibration and purpose:
- Rose Quartz: For love and compassion
- Amethyst: For spiritual growth and intuition
- Citrine: For abundance and confidence
- Black Tourmaline: For protection and grounding
Pro tip: Trust your intuition! The crystals that catch your eye are often the ones you need most.
Materials Needed for Your Crystal Bracelet
Here's your shopping list:
- Crystals of your choice
- Elastic cord or beading wire
- Scissors
- Beading needle (optional, but helpful)
- Crimp beads and pliers (if using beading wire)
Step-by-Step Instructions
- Measure Your Wrist: Wrap the cord around your wrist and add an extra inch for knot tying.
- Plan Your Design: Lay out your crystals in the order you want them on your bracelet.
-
Start Stringing:
- If using elastic cord, tie a knot at one end and start threading your crystals.
- If using beading wire, attach a crimp bead and clasp at one end before stringing.
- Add a Personal Touch: Consider adding a special charm or bead from IMGEMI's collection for extra flair!
-
Finish Strong:
- For elastic cord: Tie a secure knot and dab with clear nail polish.
- For beading wire: Use crimp beads and pliers to secure the ends.
Tying Off Your Crystal Bracelet Securely
The secret to a long-lasting bracelet is a good knot. Here's my favorite method:
- Create a loop with the two ends of your cord.
- Pass one end through the loop twice.
- Wet the knot slightly and pull tight.
- Trim excess cord and seal with clear nail polish.
Charging and Cleansing Your New Bracelet
Now that your bracelet is complete, it's time to charge it with your intentions:
- Hold your bracelet in your hands and close your eyes.
- Visualize your intention flowing into the crystals.
- Leave it under the full moon overnight for an extra energy boost.
Crystal Crafting Picks
To help you on your crystal bracelet journey, check out these IMGEMI treasures:
- Natural Crystal Chip Beads: Perfect for creating a multi-stone bracelet.
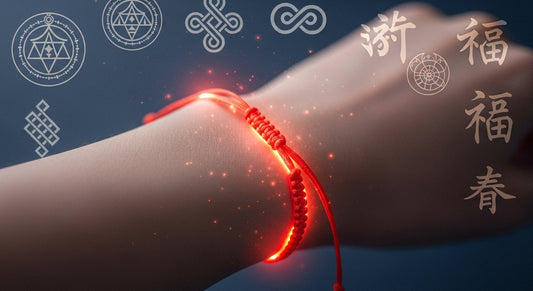
- Pure Silver Bamboo Red String: An excellent alternative to elastic for a more traditional look.
- Crystal Raw Stone Gift Box: Ideal for selecting a variety of crystals for your projects.
Remember, the most powerful ingredient in your crystal bracelet is the love and intention you put into making it!
Now, I'd love to see your creations! Share photos of your handmade crystal bracelets in the comments. What crystals did you choose and why?
Until next time, may your crystals be charged and your creativity flow!
Love and light,
Xander


